Notification via e-mail or via form letter
This documentation explains how notifications can be sent to certain groups of people with the help of the WSDB.
Sending Newsletter:
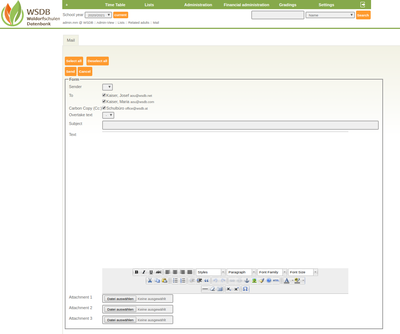
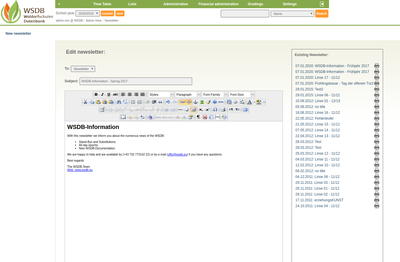 A "New Newsletter" can be created in the main menu under "+". The e-mail addresses or groups of people to be notified can be selected and the e-mail can be designed as required by inserting pictures, placing links, etc..
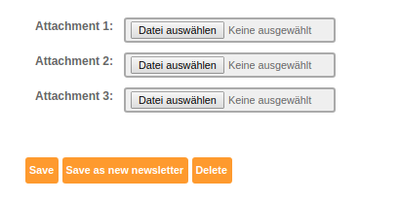
Beneath the newsletter it is possible to add various attachments - for example PDF document(s).
The newsletter is created and closed by clicking on "Save".
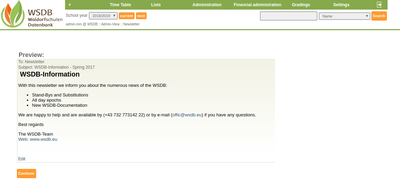
The preview of the newsletter serves as a check. A change can be made under "Edit".
Klicking "Next" takes you to the recipient.
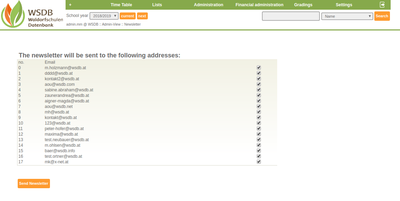 Individual recipients can also be removed from the newsletter at this time.
Finally, the newsletter is sent: "Send Newsletter".
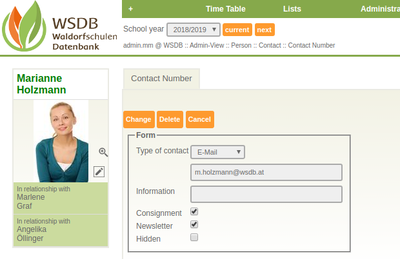 The recipient addresses listed above only appear if an e-mail address is stored for the respective person under contact number and if the "tick" is set for the newsletter.
Selection of groups of people for sending notifications
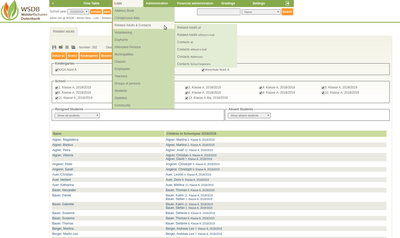 If notifications are to be sent to certain groups of people, this is usually done in the following ways:
- Send by email
- Send by form letter
First the groups of people is selected. In the main menu under "Lists" you will find the submenu "Related Adults & Contacts", but also the selection of stundets, employees etc. is possible.
In our example, we selected all related adults. We then selected or filtered the first class in the detailed view. The number of people selected is shown at the top and in this example is 263.
Also at the top are 4 Icons that perform the following function:
![]() When you click on the save button, the address data of the selected persons are automatically exported as a .CSV table. This. CSV table contains all the data required to create a form letter.
When you click on the save button, the address data of the selected persons are automatically exported as a .CSV table. This. CSV table contains all the data required to create a form letter.
 When you click on the mailing button, the editor window opens, similar to creating a newsletter, to create and sent the email. The recipients are selected by name and can also be deselected individually by clicking on the preselection.
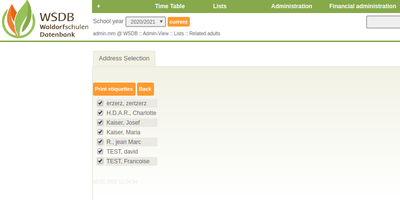
 When you click on the label button, the address selection opens first. This is a list of all names from the selected class. The names are selected and can also be deselected individually by clicking on the preselection. The button "Print labels" is located below the list. If this button is clicked, a PDF with the addresses is automatically created. The position of the addresses is coordinated with a template.
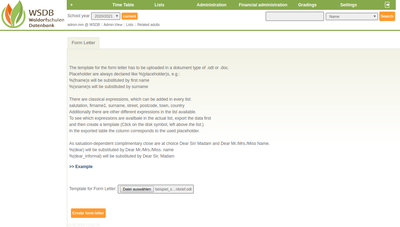
![]() By clicking on the form letter button, a description including a form mail example opens. The template for the form letter is uploaded. Under "Create form letter" the addresses, salutations, etc. are inserted in the letter and the mail merge is created and is immediately ready for printing.
By clicking on the form letter button, a description including a form mail example opens. The template for the form letter is uploaded. Under "Create form letter" the addresses, salutations, etc. are inserted in the letter and the mail merge is created and is immediately ready for printing.


