Create persons
This instruction shows, how persons can be created and which data is necessary. In the main menu under "+" you will find the menu item "New Person". It is also described, how a volunteering of a parent is noted.
The form "Enter personal data" contains following details:
- Personal information: Here you have to enter the names, community entry, whereas the fields e.g. first name, surname are optional.
The information on a community entry marks the person as a community member, after an entry of a resignation the person counts as a former community member
"Supporting Member": financial support
- Birth-/Basedata:
Here the date of birth, citizenship, denomination and the first language can be entered.
"Died on": This person is blocked to send mails and form letters
- Health:
Here it is possible to enter the social security number or allergies
"SSN": SSN + date of birth (10-stellig)
- Other:
Here specific information, for example assignments in the accounting, allergies or illustration of pictures in differend medias can be entered.
"Internal Account": relevant for accounting
"LDAP User": This field MUST BE filled with the WSDB-User for teachers, in order to provide the personalized view and to get the correct rights displayed.
"Copy Code": If interested please make a request. This code has to be adjusted for each school.
"Fee negotiation leader": Person, who discuss the fee arrangements of the respectiv household
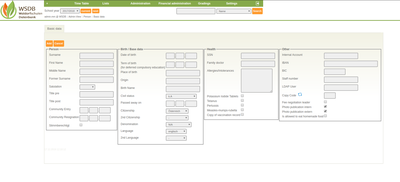 The fields surname and first name are mandatory fields, further entries can be made later.
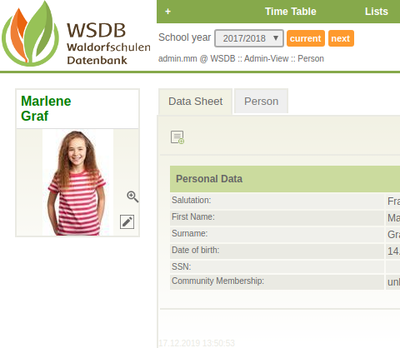 After the save the data sheet of the registered person will be displayed as an overview. Above it is possible to switch between "Data Sheet" and "Person".
The Data Sheet shows an overview of the entered data.
Person: the entered data can be added or edited here.
Directly unter the name of the registered person a picture can be added with a click on "Add picture". There is an icon ![]() between Data Sheet and Personal Data: Here you can enter the internal information.
between Data Sheet and Personal Data: Here you can enter the internal information.
If a person is registered or you are already at the view of an existing person, more actions can be executed unter the menu item "+":
- Address Data: Input of the address
- Contact Number: Input of telefonnumber, e-mail addresses, websites etc.
- Groups of persons: Assignment to different groups (e.g. pupils' council, circle of target groups, friends of the community).
- Related adult (Parents, ...): Selection of the related adults from a dropdown list. By setting a check mark can be set, whether this related adult is a legal guardianship and/or a contact person.
- In relationship with (Child, ...): If this person is a related adult, e.g. a parent of the child etc. the selection happens equally to the related adult.
- Partnership: Setting the relationships, which are not recognizable by registered children in the WSDB.
- Interested Person: the registered person can be added here as an interested person. A check mark can be made, whether the person is noted, rejected or cancelled. A selection is available in which class this person is interested in, when the registration took place and on which date the next step will happen.
- KIGA-Child: Assignment of the person as a kindergarten child. The entry to kindergarten, resignation form kindergarten and the date of the compulsory education will be set here.
- Student: Assignment of the person as a student and informations of the entry- and resignation date, reason for school change, completed courses (e.g. A-Level, apprenticeship) etc.
- Teacher: Assignment of the person as a pedagogical employee and input of entry- and resignationdate.
- Career Employee: Assignment of the person as a employee and input of entry- and resignationdate, group of the employment.
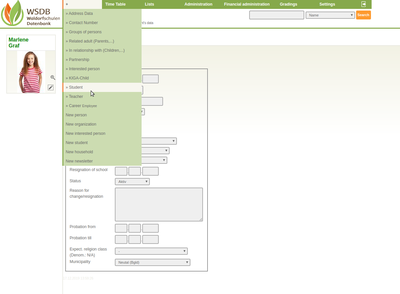 After the input of the relationships and the assignment to a role the person overview will automatically be supplemented, more tabes are available. The school career of a person will be e.g. currently documented and displayed.
In our example the person is going to be a student. In the students data there is a field "Student ID": This ID is not necessary.
"Municipality": This input is very important for future analyses.
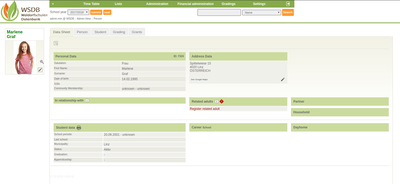 In our example no related adults have been recored to this person. Italic-Texts such as contact number won't be printed in the address book.
Via "+" Address Data the input of address data takes place. Here it can be specified, if the person wants to receive information and wheater the address may be used for advertising purposes.
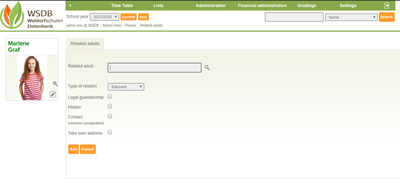 Via "+" Realted Adults (Parents, ...) the connection to the parents or the legal guardianship takes place. In this form the concerned person will be noted with the respective options (legal guardianship, hide in address book, receive delivery).
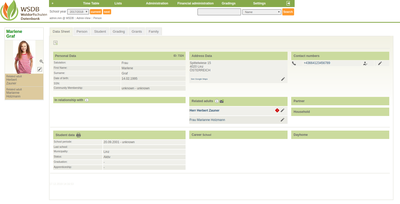 In the datasheet all related adults are now displayed. In Mr. Herbert Zauner's data sheet a variant address is deposited
 ![]()
It is possible to configure a "Student Phone". So the student can only dial this quoted number from the office.
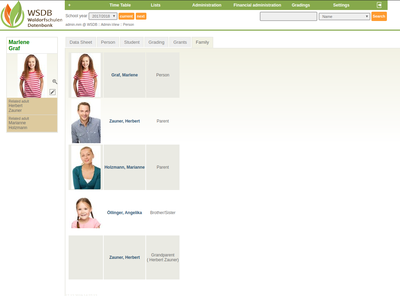
In the students datasheet under "Family" there are only related adults displayed.
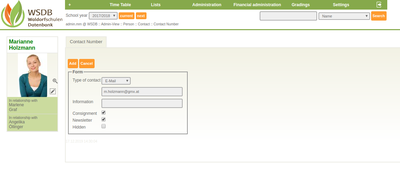 How can the telefon number, e-mail address, fax number, etc. of a person be added?
First the requested person has to be viewed. Afterwards the data for telefon, mobile, e-mail address, fax, skype, homepage and others can be added in the main menu "+" Contact Number.
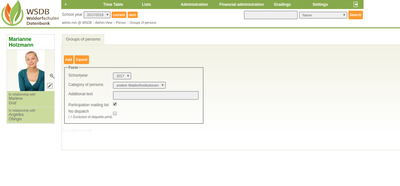 Via "+" Person Group the connection to possible person groups can be made.
A participation in the mailing list is only possible, if the Sympa-Server with mailing list is configured.
Questions or requests of a Sympa-Server.
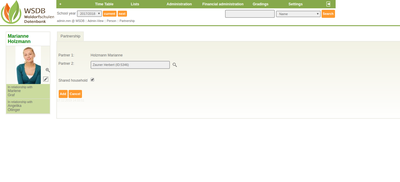 Via "+" Partnership a possible connection to a partner can be made. Here it can be also noted, if a common household exists.
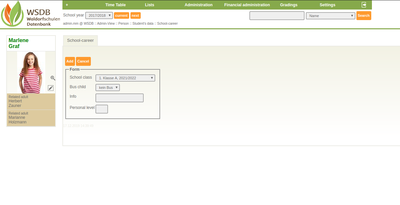
Via "+" Career school a connection to the class can be made. It can be also noted, if the student needs the bus. After a click on "Save" a list of all subjects of the selected class will be displayed, if the subjects have already been registered.
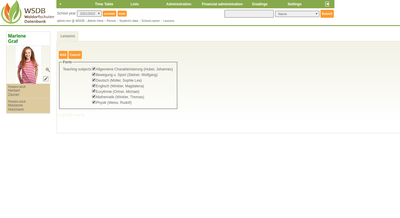 Here is the possibility to deactivate specific subjects right in advance.
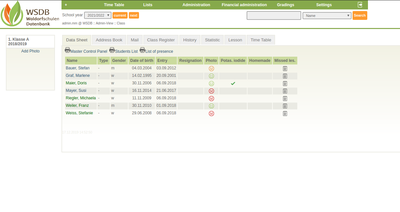 In the class view of the 1. Class the student Angelika Holzmann is also displayed now.
The meaning of the smileys in the picture-column:
![]() picture publication also for external use.
picture publication also for external use.
![]() picture publication only for internal use.
picture publication only for internal use.
![]() picture publication NOT allowed.
picture publication NOT allowed.
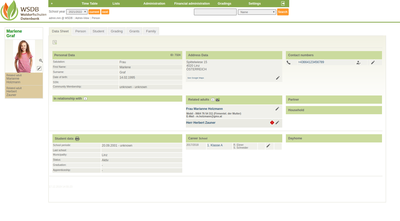 Now all necessary student data were deposited.
How can a volunteering of a legal guardianship be noted?
In the searchfield the specific person will be viewed.
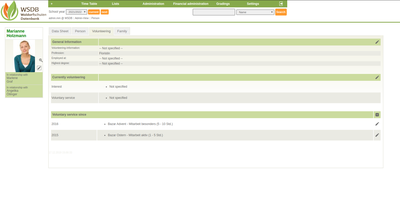 In the tab "Volunteering" the following information can be registered:
Genereal Information:
- Volunteering-Information
- Profession
- Employed at
- Highest degree
Currently volunteering:
- Interest
- Voluntary service
- Voluntary service since
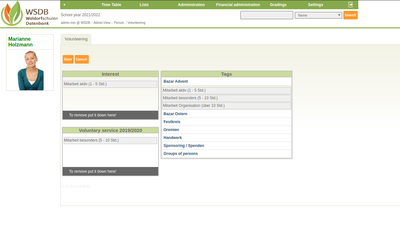 With a click on the Pen-ICON under "Currently volunteering" it is possible to add interests and services in different organisations.
To to this, pull the specific selection in the left area. If the selection is not current anymore, it can be pulled on the gray area:: "To remove put it down here!".
New volunteering tags can be added in the menu item "Administration / Volunteering".
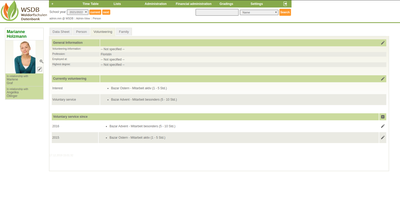 In the data sheet under the tab "Volunteering" the service on the Advent-Bazar and the interest on the Oster-Bazar was registered.


