Turn of the year
The following steps must be carried out one after the other at the turn of the year:
- Create new school year (if not already available): Under "Administration" > "Years" > "School year" there is a list of all school years. A new school year is created via "+" > "School year" .
You can find more detailed information under "Create school year".
- Enter school weeks, Public holidays, holidays
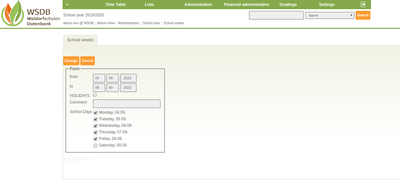
After the new school year has been created, it appears in the list. On the far right is the "Weeks" column. The school weeks can be edited by clicking on the symbol in the respective line.
At the beginning there are 5 days of classes ever week, public holidays are suggested, but not yet fixed as free of classes. For a calender week e.g. in order to extend a Saturday or to note a free bridge day, the respective calender week is clicked. Saturday can be supplemented by ticking. Removing a check marks the day in question as being free of lessons.
Days off are greyed out in the timetable views. The comment for the week is shown in the timetable and epoch plan. By clicking on "Change" the school week is saved.
- Create years (Classes in this school year)
More detailed information on this topic can be found under "Administration school year, classes, KIGA groups and dayhome groups".
Assign students to year/class
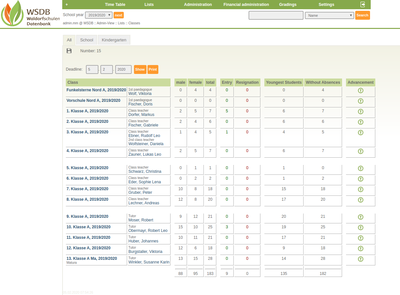
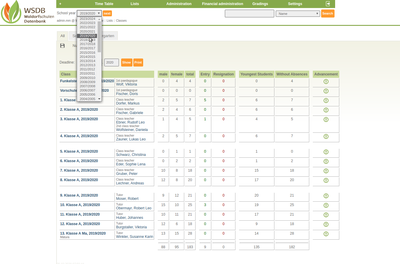
Depending on the setting, but at the latest from the end of the class in the current and until the beginning of the next school year, the column "Advancement" appears on the far right of the class list ("Lists" > "Classes"). Before the advancement function is used, the resignation dates should be entered in the personal data sheet under the tab 'students' for the existing students. The remaining students can now be taken over by clicking on the arrow.
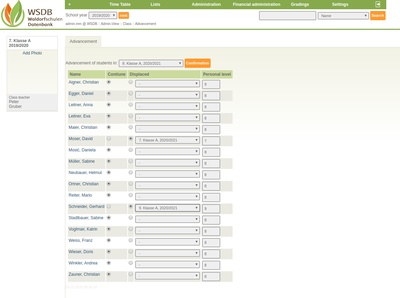
At the top of the form, the class in which the majority of the students move up is selected first. With the help of the button "Displaced" and selecting the class, the individual students can now be taken over to a class that deviates from the class specified above. Finally click on "Confirmation".
In the example, almost all students move up to 8th grade. The student Moser David will repeat the 7th grade and the student Gerhard Schneider will skip the 8th grade.
Individual students (e.g. new entrants) can be assigned to a class in the personal data sheet under the menu item "+" > "Career School" bzw. "+" > "Career KIGA".
Change to the new school year
For the next steps you have to switch to the new school year. Please change the school year under the menu bar.
Select/Adjust the subjects of the teachers in the new school year
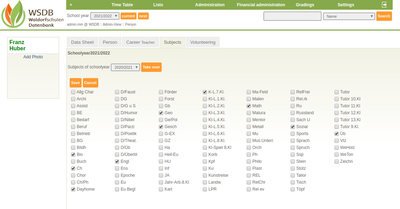 In the personal data sheet of the respective teacher, the subjects in the new school year can be selected or adjusted under the "Subjects" tab. If desired, subjects from the previous year can be taken over at the top of the form. Then make any adjustments and press "Save".
Create subjects
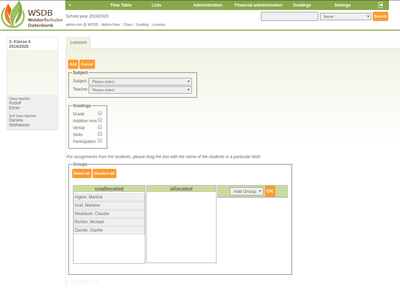
Once all the subjects have been assigned to all teachers, you can start creating the teaching subjects (assigning the subjects and teachers to the classes). This is done under the menu item "Gradings" > "Subjects". First select the relevant class, then "+" > "Subject" assigns a new subject to the class. If available, the subjects can also be taken from the timetable.
Select the subject in the form, state what type of grading is used in the subject and check all students who attend the subject. Finaly save.
Create assignments to the groups of people
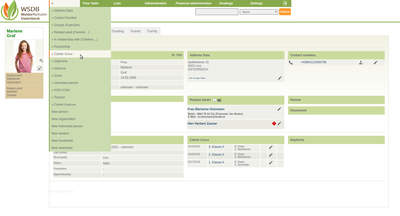
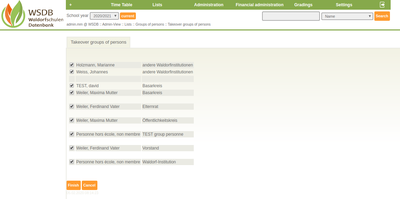
Under the menu item "Lists" > "Groups of people", the assignments to the groups of people for the coming school year can now be adopted from the previous year.
In the form, people who leave a group of people and therefore should not be taken over can be ticked off. At the end click "Finish".
New additions can be added to the person's personal data sheet via "+" > "Group of persons".


